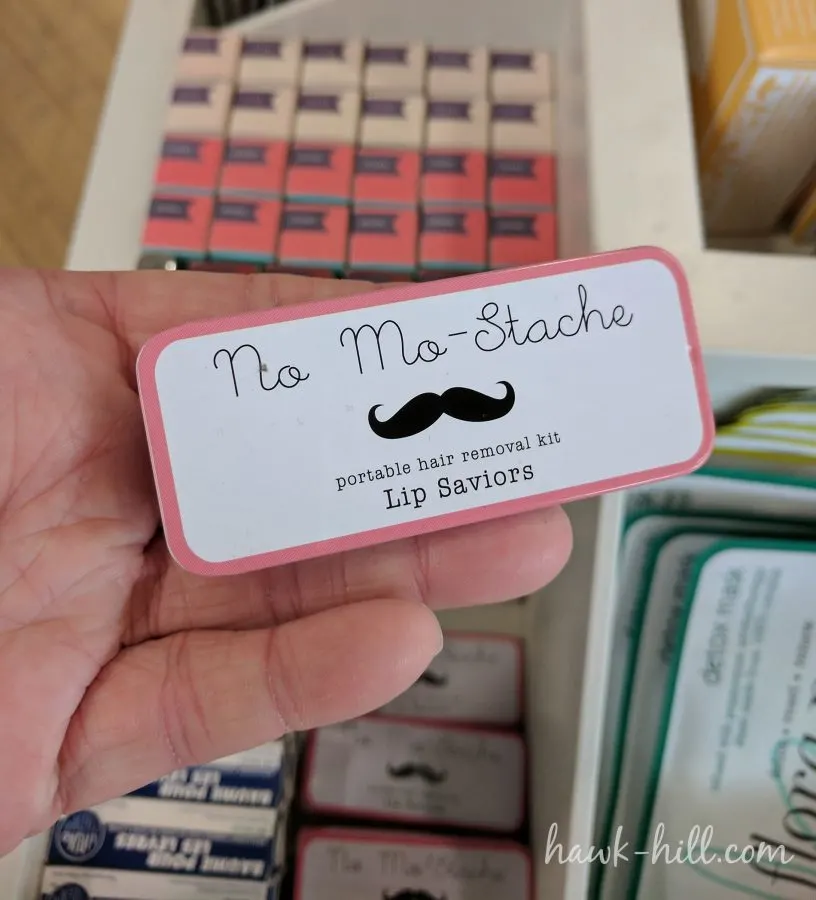
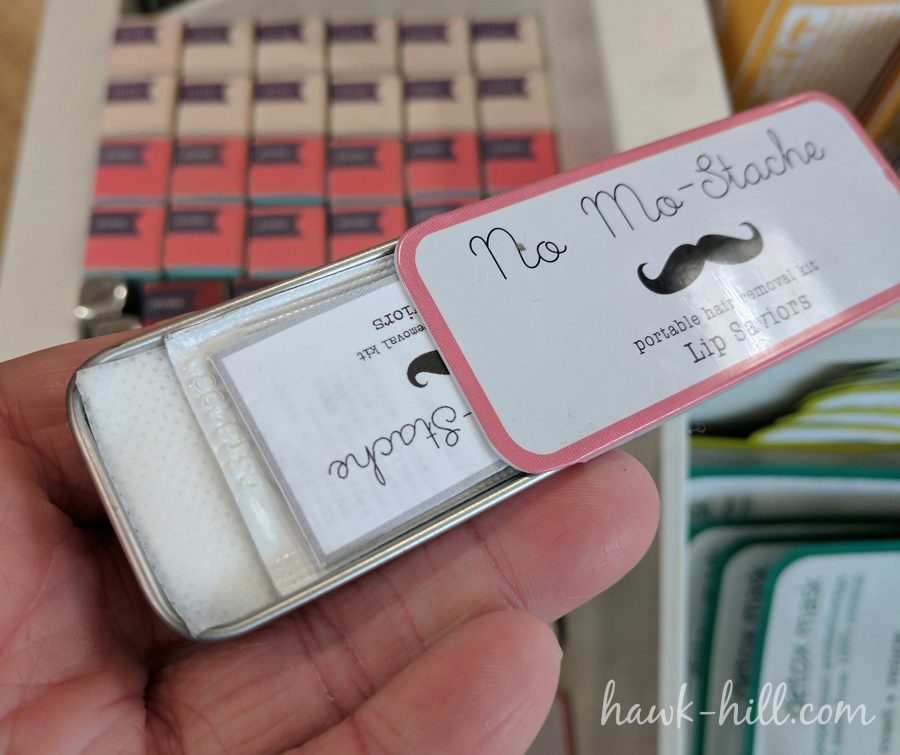
Recently while browsing Anthropologie’s (of all places!) website I came across a product I thought was pretty genius but dramatically overpriced: A small and adorably labeled tin that contained pre-waxed waxing strips that, when warmed slightly, can be used for waxing an upper lip when you are away from home or salon.
The following section may contain affiliate links. As an Amazon Associate, we earn from qualifying purchases.
It’s a whopping $18 for 12 strips from both Anthropologie and Sephora, (BTW you can literally get 40 strips for $14 at Amazon if you must go prepackaged) But today I’m going to teach you how to make your own travel waxing strips for next to nothing.
I calculate the cost for the wax strip kit I traveled with on my most recent adventures to be around $0.95 for a tin of 10 trips, including the purchase of the tin.

Lip waxing has been a part of my life since I was fourteen. I’ve tried spa waxing, bleaching, trimming, and chemical removal. The only facial hair removal method that has been sustainable (either financially or in terms of it not leaving my upper lip chemically burned) is waxing- specifically, DIY lip waxing.
If you’ve been paying for lip waxing, you’ve gotta try the DIY. A spa wax for an upper lip runs $12-$15 at salons near me, and the supplies to get started at home will only set you back about $25- so it’s a bargain for experimentation.
Doesn’t It Hurt to Wax your Own Upper Lip?
When I started waxing my own upper lip I was shocked to find that it actually hurt far, far less than when having my lip waxed at a salon. The only explanation I can come up for this is that I feel more in control when I am in charge of removing the wax, and maybe in the salon my anticipation of the removal actually increases the pain. I can also wax weekly instead of bi-weekly, since the cost to DIY is so cheap, so less hair is removed each time I wax, making it less painful.
The question recently has been how to continue this regimen- which is really important for my self-confidence- when I’m traveling for a few weeks at a time. This tiny product at Anthropologie actually inspired me to try making my own travel wax kit. I think the No Mo Stash kit uses a soft sticky-type wax, but for my coarse dark hair, hard wax, which expands as it cools and locks hair into the wax, is far more effective. Before my trip to Italy and Croatia this summer, I decided to try making my own strips with non-woven waxing fabric and hard wax, planning to experiment during my trip if warming the strips gently in the microwave might create a travel-size way to wax during travel.
The result? It worked! These to-go strips + microwaves in my airBnB’s during my trip made it possible for me to keep my personal regimen without the expense or anxiety of using a salon overseas.
What You’ll Need:
Waxing Fabric cut into strips
(optional) Adorable little storage tin
How To Make a Travel Lip-Waxing Kit:
Buy or Make Lip-sized Non-woven Fiber Strips
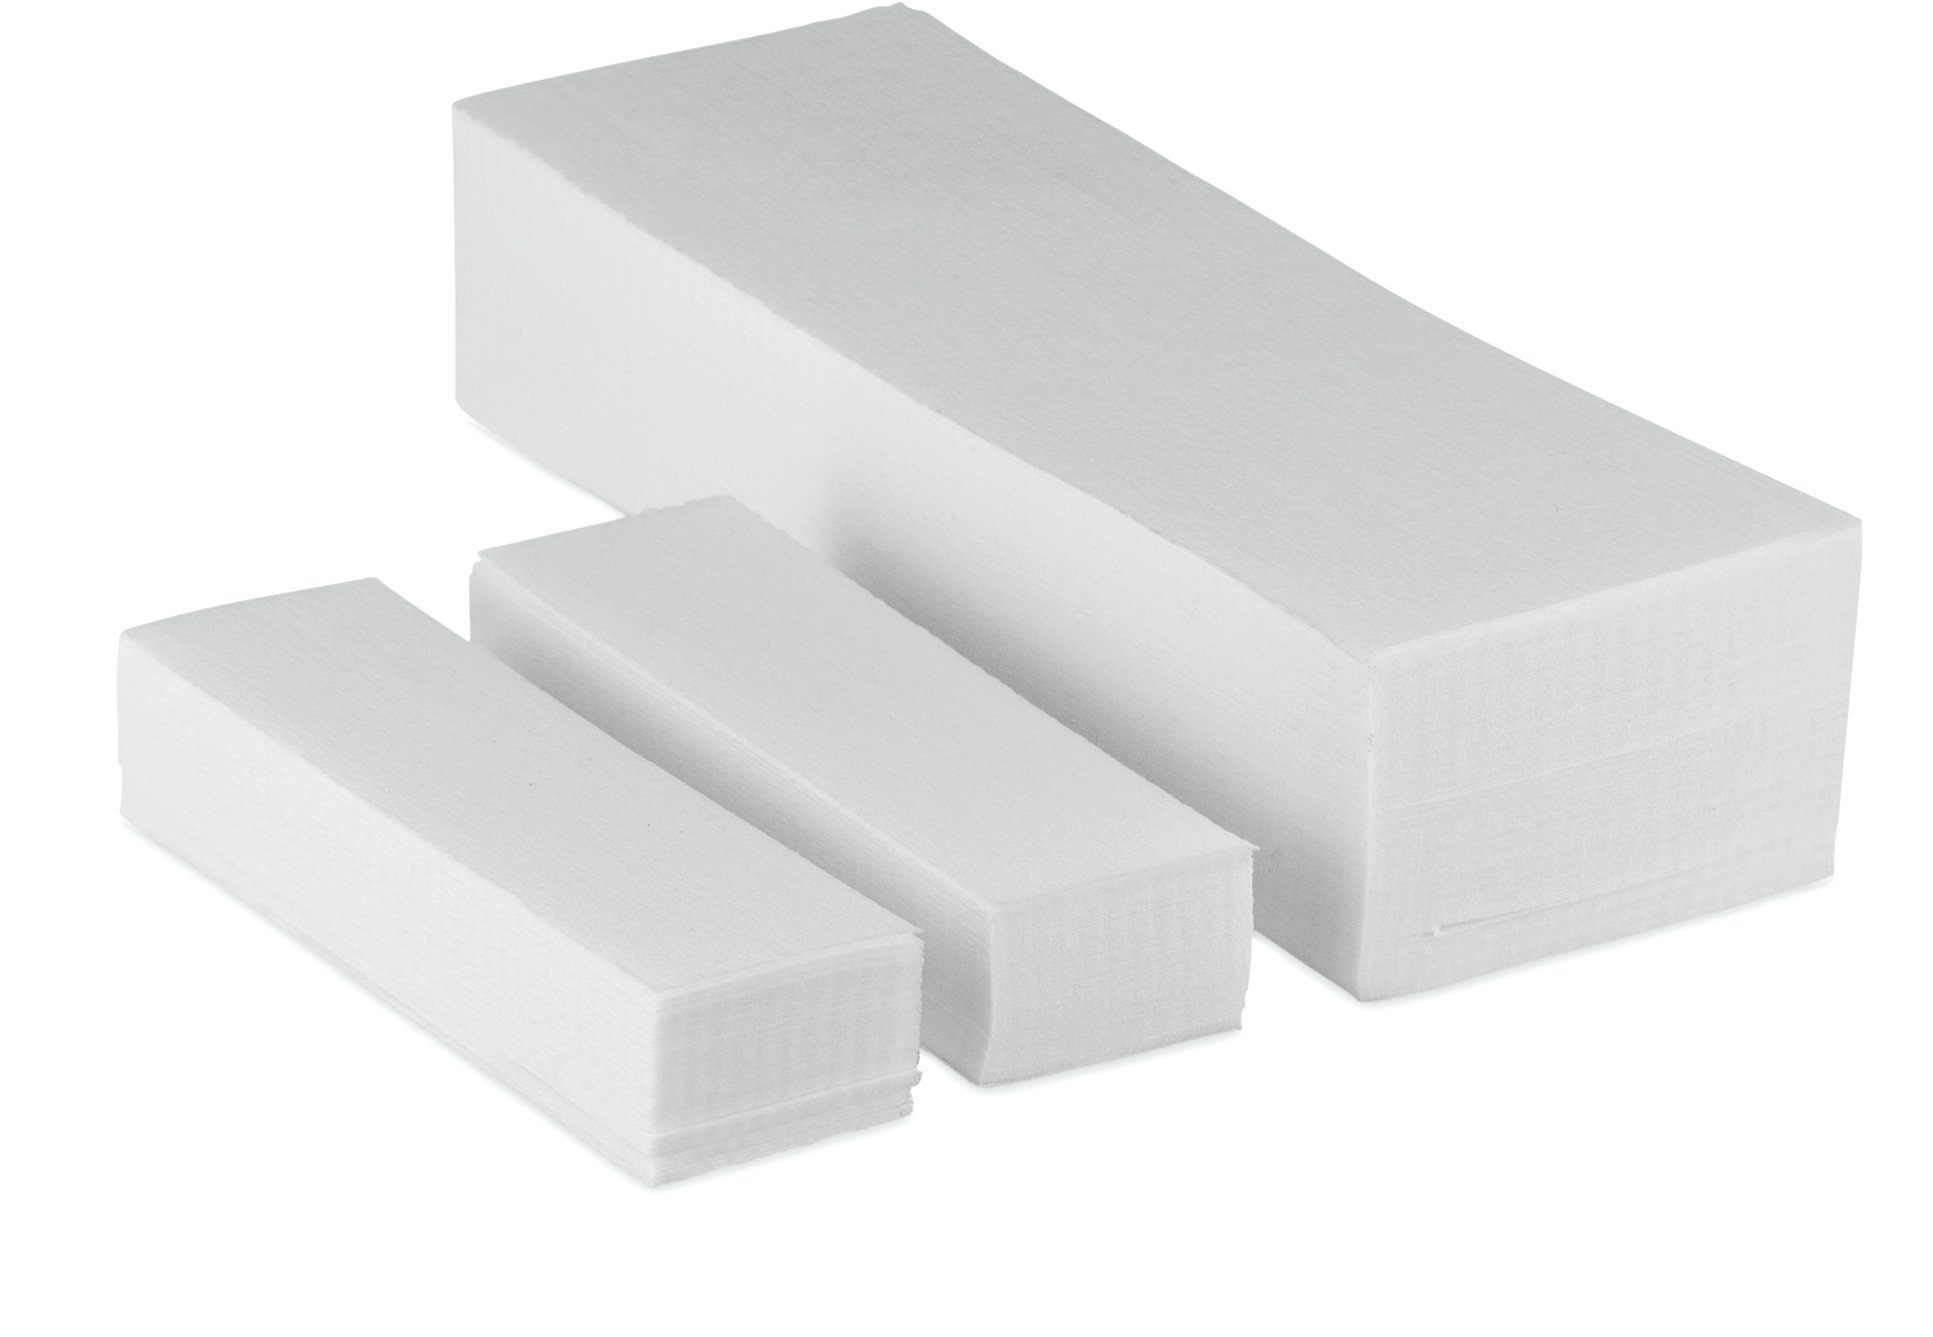
To create these strips, first I cut large waxing fabric sheets down to the perfect size to fit in the tin I purchased for travel. I like to cut down larger sheets because it saves money (compared to smaller strips) and ensures I can get the perfect size strip for me.
Warm the wax reservoir
Warm your wax to waxing temperature. I use a wax warmer but before I committed to the practice, the first few times I simply warmed the wax in the oven. If you warm your wax in the oven, make sure the container is metal with no plastic, wrap it in aluminum foil, and place it inside of a metal or glass pan in case there are any spills while putting the wax in or taking it out.
Apply Wax Directly To Strip
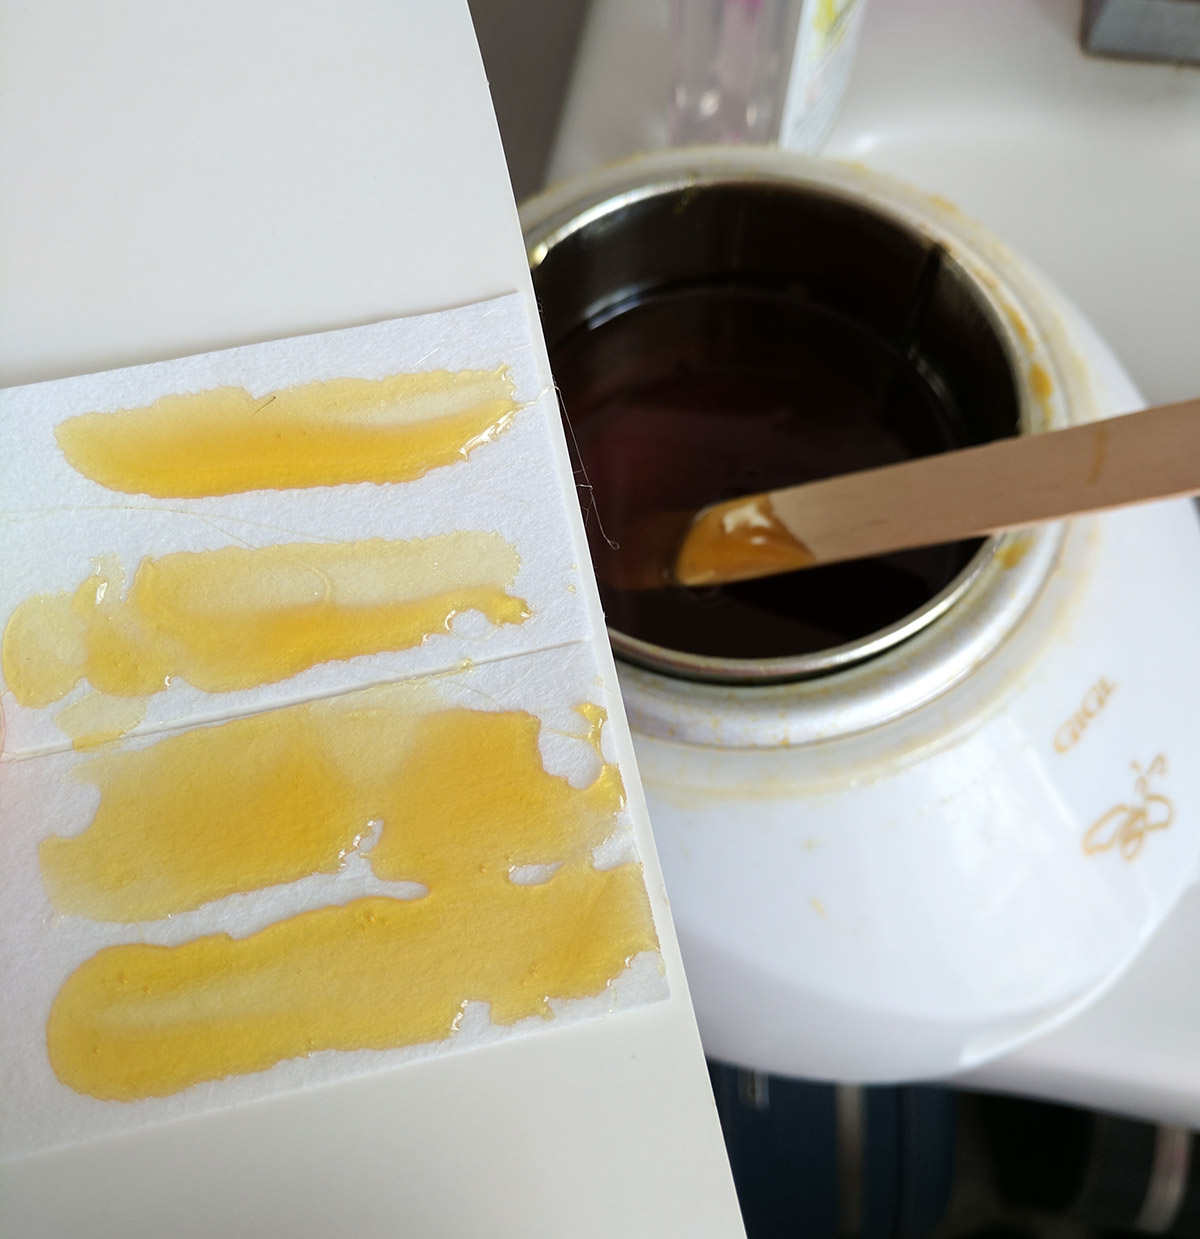
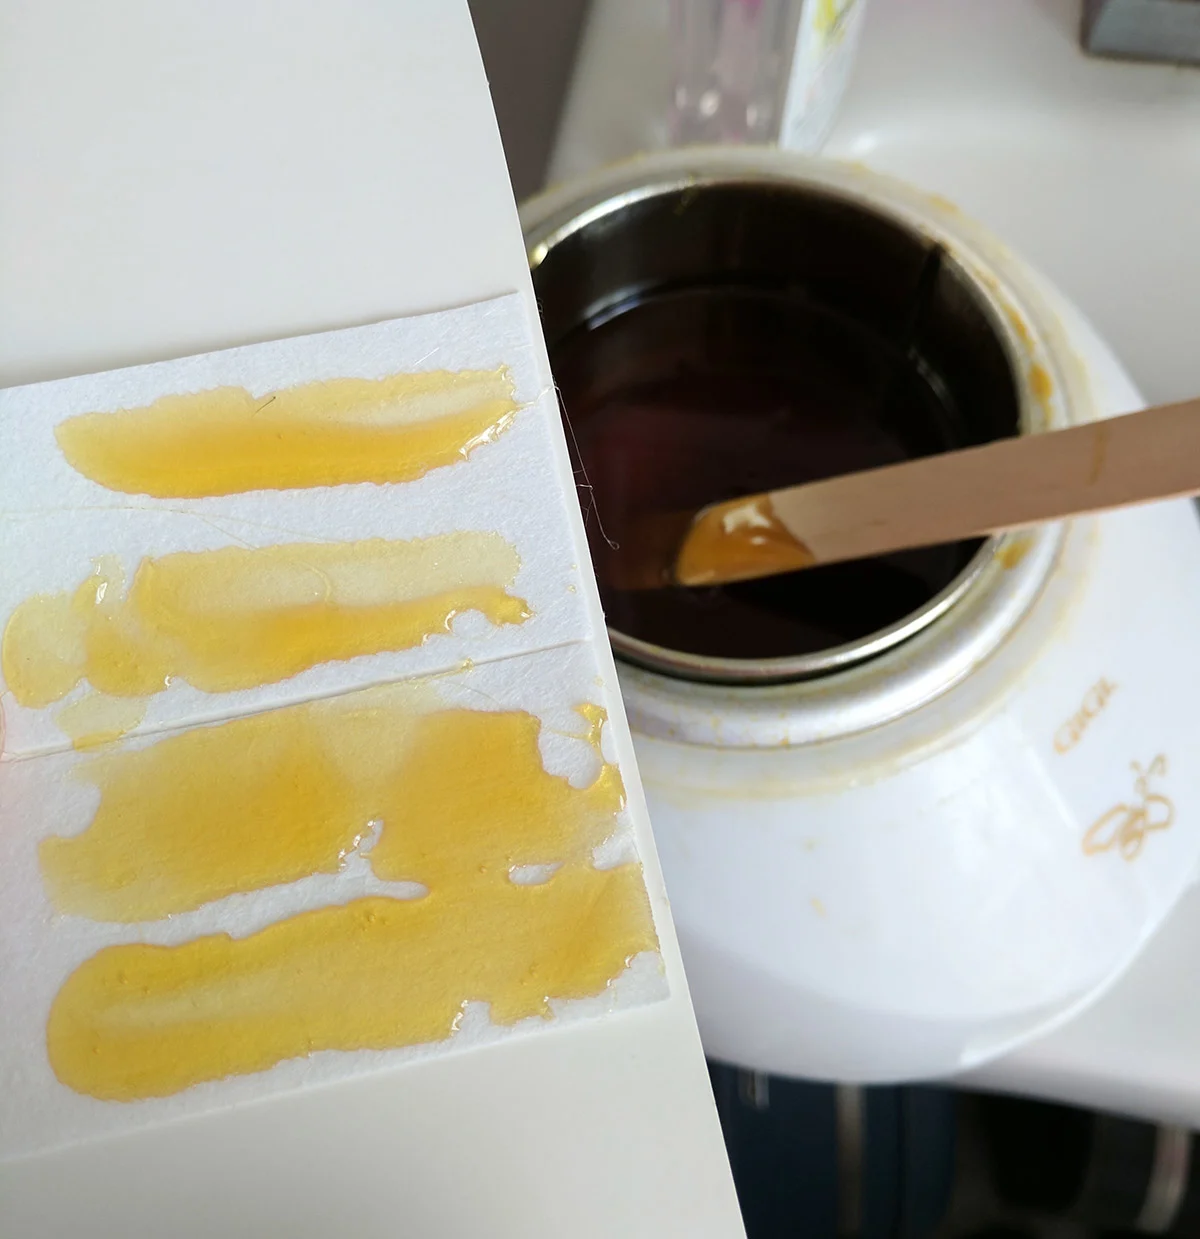
Using a wood craft stick and working on a safe surface, apply a thin layer of wax- about 1/16” thick- in a strip in the center of each strip.
Let Wax Cool, the pack
Allow to cool and harden before stacking the strips on top of each other and packing in your toiletry bag. Hard wax is not sticky once cooled so you don’t have to worry about separating the sheets with a divider.
TO USE:
Important: these can be really messy so follow the instructions!
1. Cover a glass or ceramic plate with two to three layers of paper towels and lay wax strip down, wax side up, in the center (parchment paper or wax paper might also work but I have not tried. Never microwave plastic wrap or aluminum foil!).
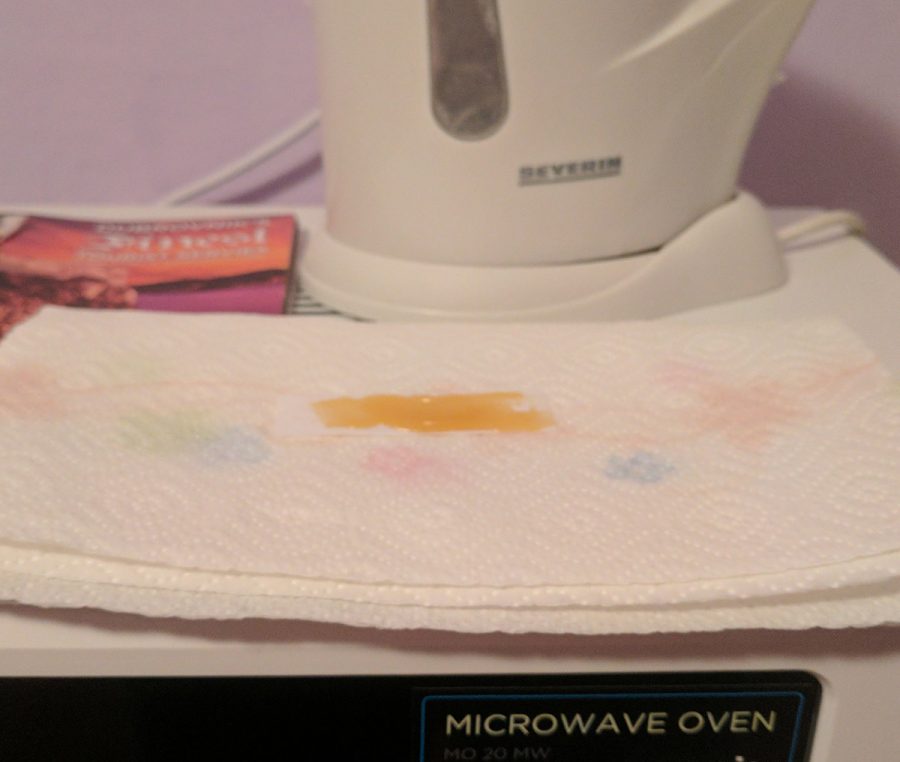
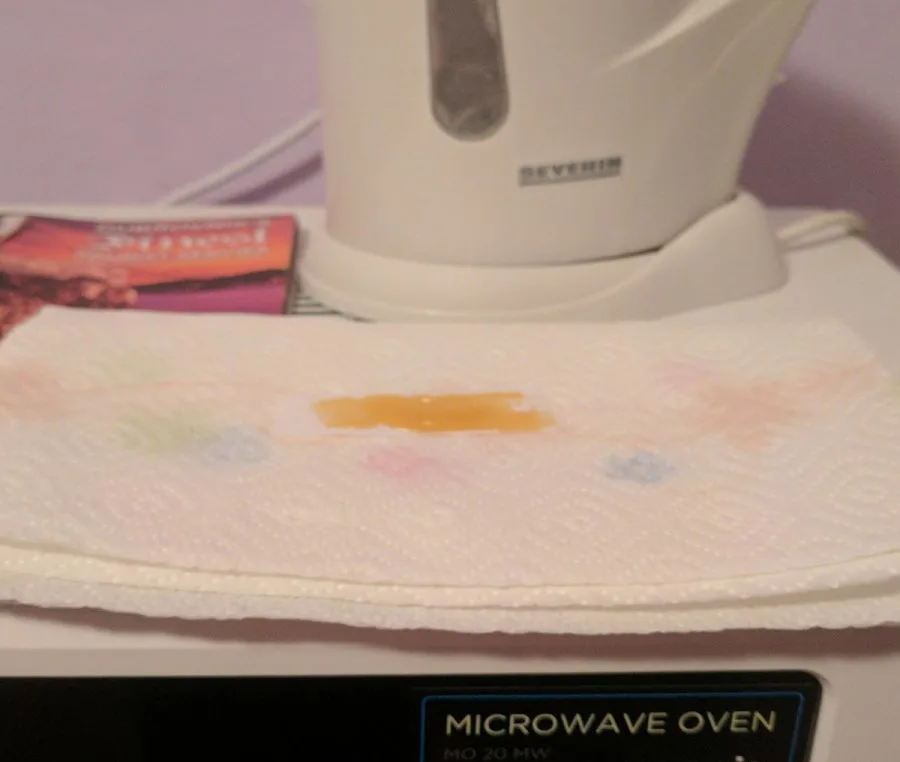
2. Warm one wax strip at a time.
3. Place plate, paper towels, and wax strip into microwave.
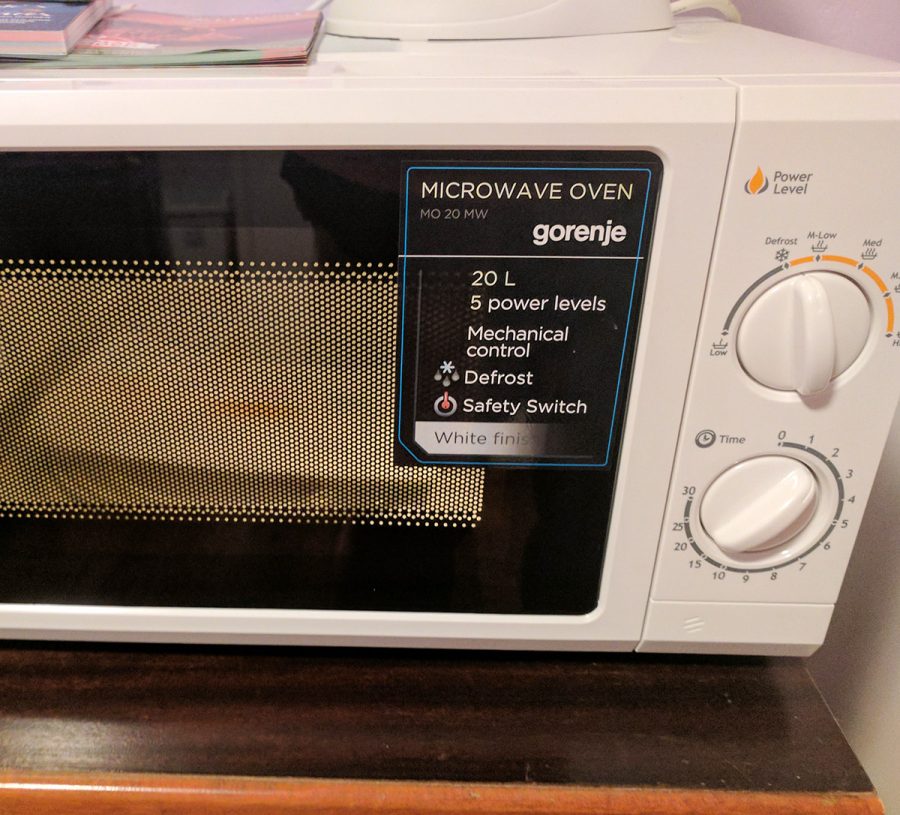
4. Microwave at full power for 5 seconds at a time, till wax is a soft warm-caramel consistency- NOT LIQUID (hard wax in liquid state is hot enough to burn skin). Microwave wattage will make melt time vary.
Experiment- always erring on the side of not getting the wax hot enough. You do not want runny wax that drips off the strip, but a soft almost caramel texture. Always test the wax temperature (by using a fingertip to lift a portion of wax and place on your wrist before applying to your skin) in order to prevent burns.

Lynli Roman’s unique approach to travel is informed by decades of experience on the road with a traveling family and, later, years spent as a solo international traveler. When she’s not writing about Seattle from her Pike Place Market apartment, Lynli writes on-location while conducting hands-on research in each destination she covers. Lynli’s writing has been featured by MSN, ABC Money, Buzzfeed, and Huffington Post. She is passionate about sharing information that makes travel more accessible for all bodies.